Wednesday, September 25, 2013

The Cup!! and Mast Building

Well, first a big "Hurrah!" Well done Team Oracle USA. What an amazing spectacle. From being almost out at 8-1 (including a 2 race penalty from pretrials?!), they won 8 straight. Magnificent  duel in flying machines.


Back to a more "primitive" boat and building: no carbon so far.

The main yard and mizzen mast birdsmouth spars were lead ups to the "biggie", main mast. The practice was needed and I believe it paid off. While all spars need the final sanding, they have been 16 sided for that step. The other steps were:

  • for the 16'-10" spar 8 staves were cut on the table saw out of a 5/4x6x18' douglas fir board. Stave width, height, and taper were derived from Duckworks' Calculator Program.

  • ganged together the staves were then tapered with a jack plane. Some sort of jig using either the table or circular saw would have been quicker, but I wanted to sneak up on the final taper. I also like planing.

  • a thin coat of epoxy was painted onto what would be the interior face of the staves.

  • then thickened epoxy was brushed onto the "beaks" of the staves.

  • the base octagonal plug with feathered or crowned ends was inserted between the staves and actually aided in the glue up.

  • a second pair of hands helps tighten zip ties every 4-6".

  • I spent perhaps an hour confirming the straightness of the glued and zipped spar. A tight string run over the mast proved very helpful toward keeping things true. For something larger I'd want to make a more exacting jig to hold everything true.

  • I left the setup overnight. Cut the ties this morning. 
Abstract No. 2

  • Knocked the stave edges to 8 sides. With a spar jig turned that to 16 sides. Those residual corners were hit lightly with the plane. 
Almost 17' and, thankfully, true.

Sap streaks I had intended to turn in, but didn't catch it.

8 sided cherry plug.

Overall. Final base plug yet to be added.
  • I almost forgot to add that I had estimated the weight of this spar to be 22 lbs. The unsanded/ unfinished spar is 19 lbs. 4 oz. On target!
  • And so, sanding remains to suit for finish. I haven't decided on this method: drill with drum, sanding longboards, or hand sanding by "shoe shine" with a sanding belt. Perhaps all of the above? I'd like to figure a simple way to rotate the mast like a lathe. We'll see ... I now need a boat for these sticks.

Sunday, September 22, 2013

Keelson, Battens and Birdsmouth

In racing to get some work on the boat done before a busy week, I neglected to take many pictures. The weather was fantastic. Cool and bright today.

What I did accomplish:

  • Keelson shaping-
    • with "witness" saw cuts every 1.5" a chisel readily removed a majority of the wood. The handplane got closer and will be fine tuned prior to setting the garboard planks.
  • New battens-
    • the previous set were so fraught with breaks and twists that they had to go.
    • new strong yellow pine battens were scarfed and placed on the forms. YP was from the kayak build. Save those scraps. They will be useful somewhere.
    • some tweaking of the battens has been made over 2 days as different views seem to reveal slight "hard" spots in the curves. No dramatic changes, but 1/8" movements here and there.

  • Garboard plank template-
    • I will use the "ladder" technique to form a template from the battens.
    • a batten will have to be placed on the previous plank to make the successive template. We'll see how that goes.

  • Cut birdsmouth staves for main mast-
    • all 8 came from a 5/4x6x18' plank cut into 4 pieces which were then split vertically.
    • using a jack plane the staves were tapered. Hand planing smoothed the final result.

Familiar set up. See kayak build.

Multiple finger boards for ripping with kerf blade.

Planing taper to ganged staves.
Outdoor shop.

All tolled I've probably 12 hours of work over the past 3 days.

I forgot to mention I had built a 3/4" scale balsa model of the boat to study a few details like a simple awning/tent and to generally familiarize myself with the build.


Awning study. Looking for a simple tent design with low windage.


Wednesday, September 18, 2013

Design, Platform, Moulds and Battens.

In reality there are no drawings for the Sooty. It is a stretched version of Oughtred's "Arctic Tern" by 18". The moulds are pushed further apart and the shear is adjusted up maybe 1/4". So, you purchase the Arctic plans and a Sooty "supplement" which includes a lines plan and offsets. All other detail is derived from studying the Arctic plans seen here:


I will build the yawl rigged boat with birdsmouth spars, closed gunwales, and decked fore and aft. Of course, any of that can change. I'm actually well along in the build and neglected to take many photos so far, but some will show the process and progress so far. 
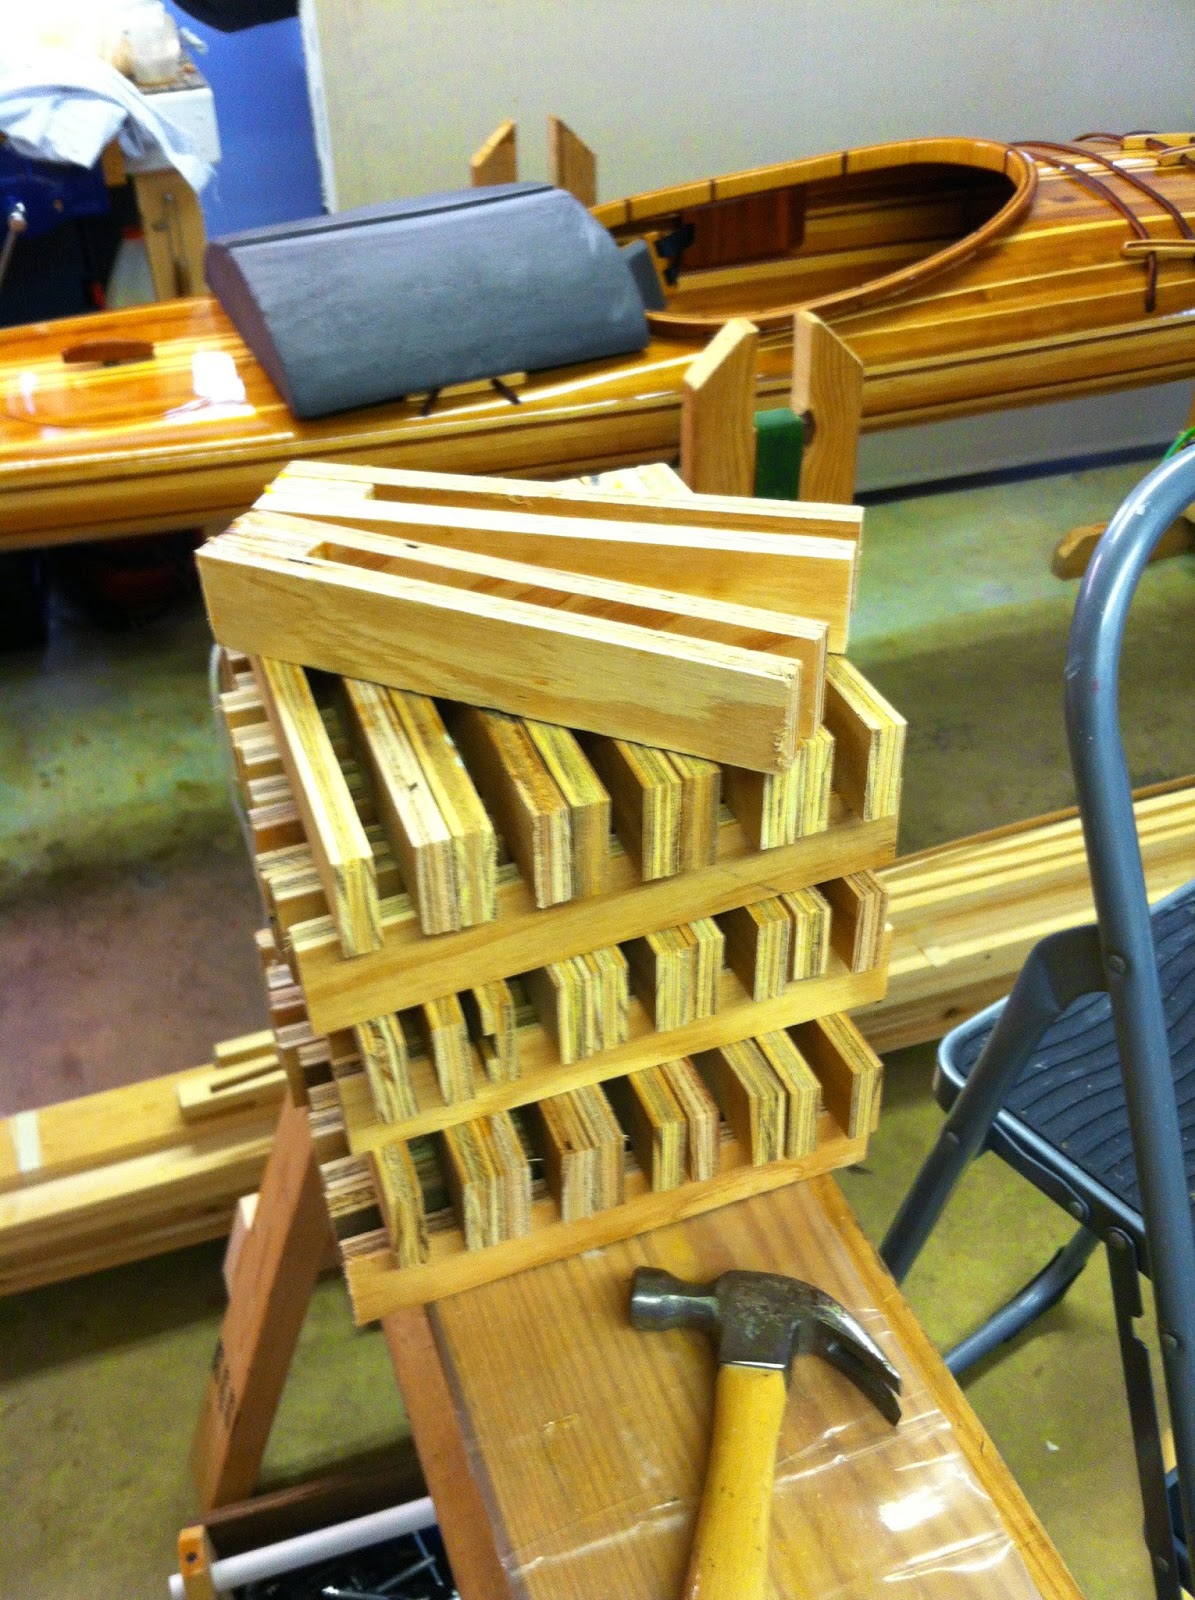
Made a stack of "clothes pin" clamps (32)

The building platform.

1/2" OSB painted light grey for moulds.

Moulds cut and mounted.

Battens for plank alignment.

Aft stem & keelson added. Note mould bracing.

Not so fine platform extension for stem.

Stems are epoxy laminated douglas fir. Keelson is also fir. The centercase slot was cut on the table saw before mounting. I taped a copy of the stems on flat OSB taped over that to release from epoxy, and screwed short block for lamination clamps.

Aft stem formwork.

Formwork close up.

Inner stem or apron glued up.

Outer stem glue up.

Since I do not have enough long reaching clamps, I waited for inner stem to dry to use it as the form for the outer. Make sure to add clear plastic tape or plastic between the two!

While I waited for the plywood order, I began the spars. I'll allow Duckworks to explain the particulars.
These too are of douglas fir. The preferred sitka spruce proved too dear by a cost factor of seven! I reality the weight savings is negligible in birdsmouth construction and I like the amber tones of fir better. Fir also shows some strength advantages. I questioned the 33#/cubic foot weight typically specified, so I weighed a 2x4x12' board and interpolated to #/cu. ft. I got 33.4#/cf.
The Duckworks calculators are very helpful. There are calcs for proper diameter and stave thicknesses based on a solid spar. The main mast is specified as a 3" diameter spar. The calcs add 15% for a 3.33" diameter  or just more than 1/4". Thus far I have constructed the mizzen mast and yard. The booms will be made solid due to their weight is low and all the blocking for cleats, pulleys, etc. would fill the hollow spar. I also thought a more bullet proof spar here would be desirable.

CADD drawings of spar and a cut off portion.

16 sided spar and cherry plug.

Mizzen mast base with slot as a weep.


Open bench allows spar clamping and shavings to fall.


The open bench is 20' long. I saw this great arrangement on Andy Kane's photo collection. I built mine from a discarded pallet and four 10' 2x4s. The reuse makes one feel you are cheating the expense. The stack of clamps were made from scraps left over from my SOF kayak frames. Having the bench outside keeps the dust outside too.


Other parts I've started are the rudder head faces. These are from cherry boards which I lugged from city to city and house to house from Houston to Virginia. I knew one day I'd find a project to do the boards justice. I enlarged the rudder drawing, plotted sheets (8.5x11), taped them and made an OSB template. The cherry was just shy of the needed width, so I epoxied a joint where the faces will hold a solid piece inside.

Rudder layout.

Layout on cherry.

Rudder head template.

 Lastly, I'll show a screw up. Despite my efforts to place the birds mouth yard in a jig to keep it true, in tightening the zip ties I must have pushed/pulled too hard and put a crook in the spar's end. I was ready to make another when cooler heads prevailed. I realized the spar was straight on one axis. A delicate slice along 4' of the crooked axis allowed for realignment and work to go on. In an odd way I'm proud of the small scar left in the spar
Zip tie waste.

Saw surgery along curved stave.

Slice before epoxy.
I'll photo the finished spar later. A second boom and the main mast need to be built, but we have the hang of it now.

Tuesday, September 17, 2013

What's Next?

With the kayak done and Summer temps winding down, I decided to construct another boat. This is actually the end of a rather meandering path of fitful beginnings without any starts. For several years now the idea of sailing an open boat closer to shore for extended days has poked and prodded for my attention.


For this type of cruising, there are many suitable boats. Not all are a suitable builds and not all evoke the perhaps romantic notion of slipping along a reedy creek on some crisp Fall afternoon. For countless hours I've dreamed and studied this design or that building method. A library now resides in the upstairs hall dedicated to this pursuit. However, if I had to pinpoint the initial spark, it likely came when I stumbled upon Ross Lillistone's "Periwinkle", a cat ketch with balanced lugs (video here).  She has that historical reference, yet with new construction techniques is a fresh original.

Lillistone's "Periwinkle"


Not long after, research turned up another boat from down under, Mickey Floyd's "Salty Heaven".
Say what you will about the name, this yawl lugger's workboat lines make her a beauty.

Floyd's own "Salty Heaven"


Somehow the New Jersey gunning skiff dropped in there most likely due to Barry Long's exquisite "twins" he crafted in his basement (video). These got my longest attention, but ultimately they lacked the volume I hoped for to take 2 or 3 sailing. His blog Marginalia is a great history of his builds.

Long's Melonseed "Aeon"


The long search and dragging of feet ended with a double ended balanced lug yawl  by Iain Oughtred called the "Sooty Tern". Perhaps his 100th design, she is the inheritor of a long evolution of his yawls. Details are here (Sooty Tern). Max Filusch has one of the best sets of photos of this boat. This blog's current background photo is one of his. Here's another:

Max's "Sooty"
Oughtred's designs are some of the most built boats out there. With a large following, resources abound on WoodenBoat Forum. For that matter, any wooden boat of note is virtually catalogued there. Sooty fits the bill. With a nod toward history, an evolution of ideas, and simplicity of design, this boat proves to answer a dream ...

Monday, September 16, 2013

Dolly for a Kayak

While the kayak is light, the added accessories (paddle, life jacket, pump, spray skirt, lunch, etc.) can make the load awkward, if not heavier, and hauling the whole kit any distance can be trying. The solution? a good dolly. I decided to make my own.


I used 17" plastic wheels, 1/2"x2'x2' birch plywood, some 1" PVC with caps, and machine bolt for axles. The ply was cut into 3 pieces and slotted. The heads of the bolts were ground off and holes for cotter pins drilled through the shafts. These were then epoxied into a wood channel. The PVC was cut to length, slotted to slip over the 1/2" ply and secured with screws. Once the pipe was capped, split pipe insulation was glued onto the pipe.


The entire assembly can be broken down readily for ease of storage. The "lightening" holes really serve to strap the kayak to the dolly and they add a bit of style. After a good sanding I'll put a few coats of polyurethane on the works. I'm very happy with the results. It is very serviceable.